
Securely Connect to DeviceOn using x.509 Certificates
This section tries to teach you how to connect DeviceOn server through x509. There are two topics we will cover through this document. The first part will show you how to get the credential files from DeviceOn server. Another part will show you how to configure WISE-Agent and make it connect DeviceOn sever through x509.
Prerequisite
Your operation system should install the following software.
DeviceOn Server that is greater than version 4.4.2
WISEAgent
OpenSSL
Steps to Generate the Credential Files
In this session, you will learn how to create a private key file with OpenSSL command line tools. You can upload the created private key file to DeviceOn server and then download the zip file from server. To understand this SOP, you should have the knowledge of the following topics:
Generate the private key file with OpenSSL command line tool.
Get the credential files from DeviceOn server.
Step 1: Press Win+X to open the Command Prompt.
Step 2: Navigate to the OpenSSL bin directory.
Step 3: Enter the following command to generate a private key:
openssl.exe genrsa –out private_key.pem 2048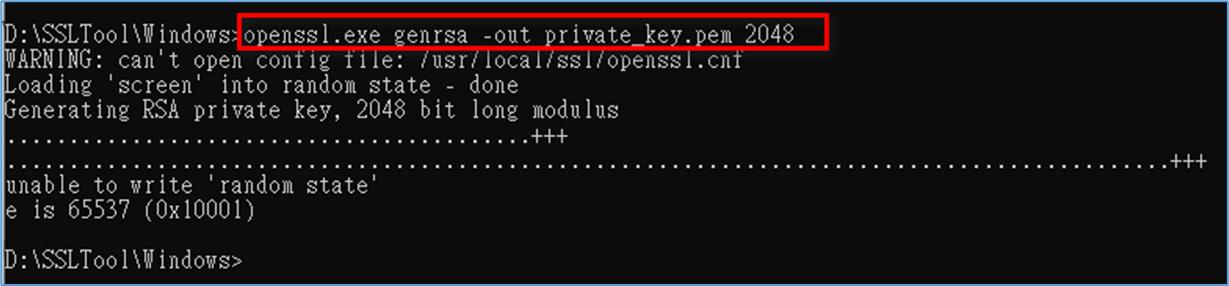
Step 4: Once complete, you will find the name private_key.pem that under the directory.
Steps to Download the Credential Files from DeviceOn Server
Step 1: Sign in to the DeviceOn server portal.
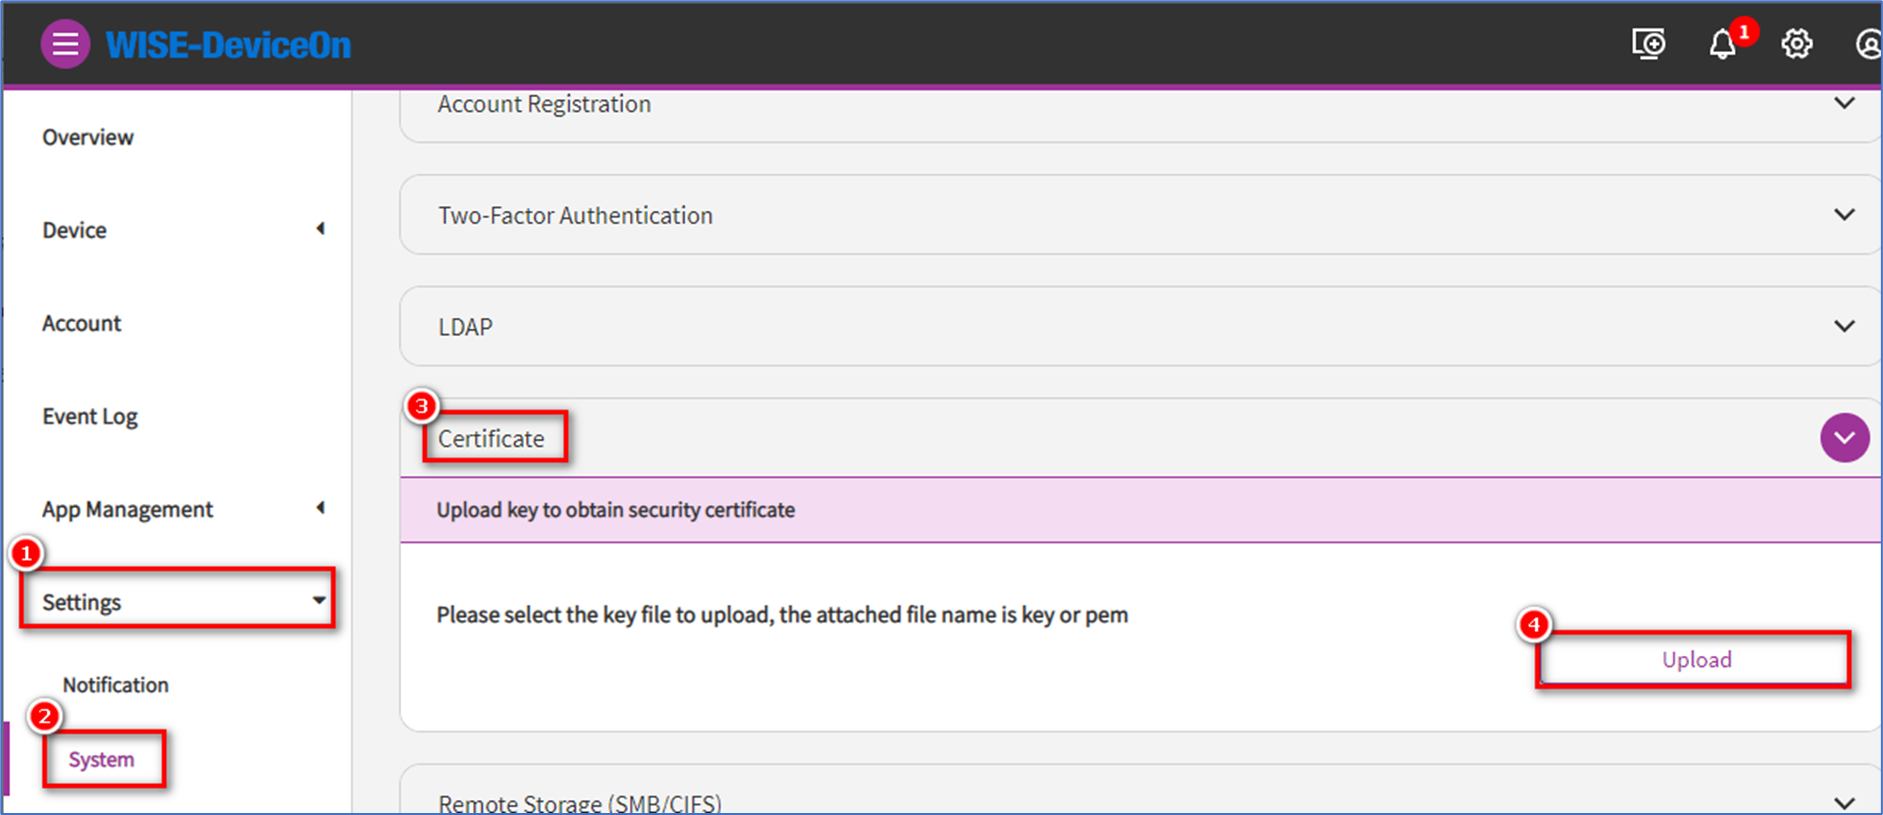
Step 2: From the menu on the left, under Settings, select System.
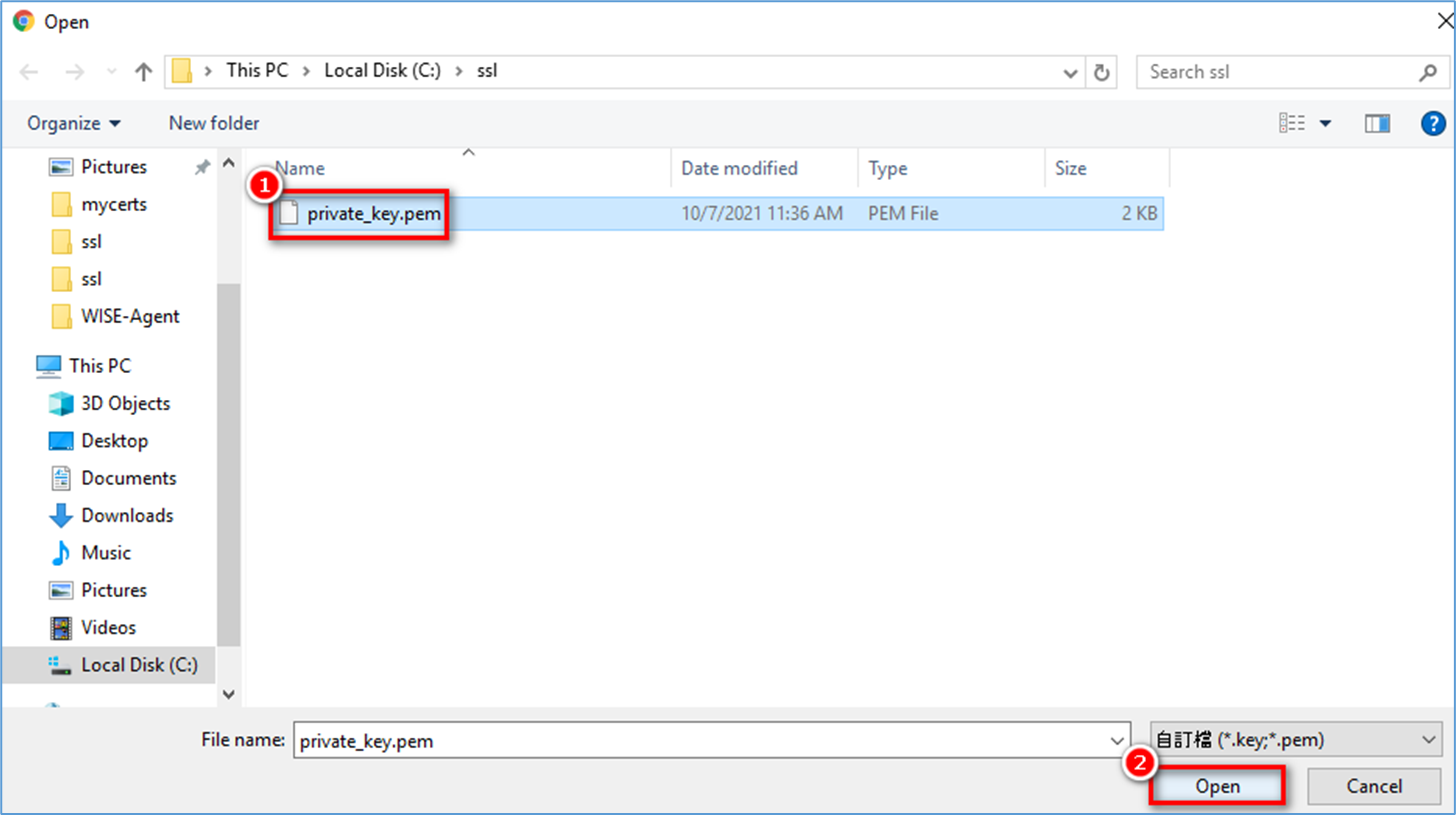
Step 3: On the right panel, extend Certificate, select Upload and browser the private key file that you created before.
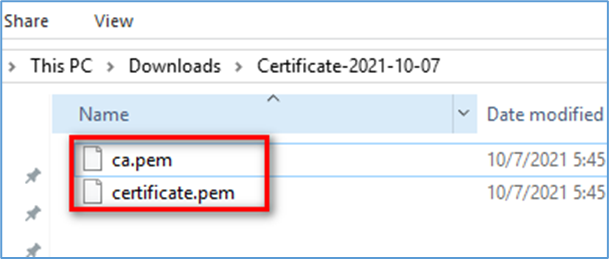
Step 4: If anything well, you should get a zip file named Certificate-xxxx-xx-xx.zip.

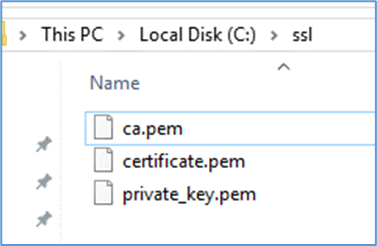
Step 5: Extract the zip file. There are two files in the zip. One is the client credential files named certificate.pem and another is the root certificate ca.pem.
Steps to Configure the Setting of DeviceOn Agent
In this session, you will learn how to configure the DeviceOn Agent and make it connect DeviceOn server through the credential files that generated previously. To understand this SOP, you should have the knowledge of the following topics: Where the agent’s configuration file is. Adjust the agent’s settings for connecting DeviceOn server through x509.
Step 1: Open the agent_config.xml that existed in the installation folder of DeviceOn Agent.
Step 2: Copy the credential files to a folder outside the DeviceOn Agent installation path. They should contain three files. Just like the following picture
Step 3: Open agent_config.xml with your familiar editor. There are four tags which you should adjust. They are TLSType, CAFile, CertFile and KeyFles.
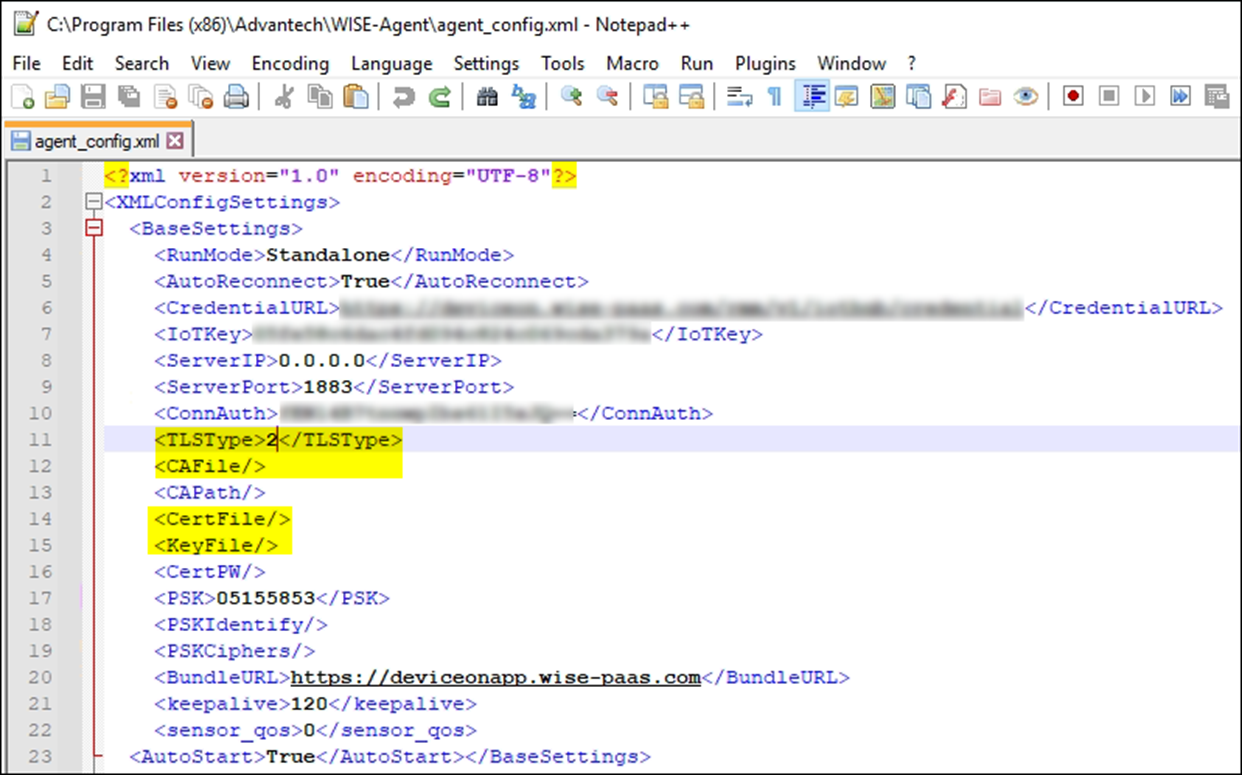
Step 4: Configure the TLSType, CAFile, CertFile and KeyFile as below.
TLSType to 1.
CAFile to <Credential Path>\ca.pem
CertFile to <Credential Path>\certificate.pem
KeyFile to <Credential Path>\Private_Key.key

Step 5: Save agent_config.xml and reconnect to server. If anything goes well, the WISE-Agent should show connected.

Last updated