
Ubuntu
Prerequisite
If your platform is Ubuntu 18.04/20.04 on Nvidia Jetson, please execute the following commands to install the dependent libraries.
To download package information from all configured sources:
sudo apt updateTo install the dependent libraries:
sudo apt install cmake curl libxml2 libx11-6 libxext6 libxtst6 libmosquitto1 sqlite3 xterm ethtool lua5.1 net-tools openssl libcurl4 gcc g++ make cmake libxml2-dev libx11-dev libxtst-dev libxext-dev libmosquitto-dev autoconf autotools-dev build-essential libtool zlib1g-dev libcurl4-openssl-dev libssl-dev -yOnce your DeviceOn server installed, you could start to follow steps to onboarding your edge device.
Log in to the DeviceOn Cloud Service with Your Account and Password
Download DeviceOn Agent and Setup on your Device
Please try to get and download the latest version of DeviceOn Agent installer for Linux version from resources page.
Open a terminal
The installer runs in CLI (Command Line Interface) mode. As such, open a terminal preferable for you.
Copy the installer to target host
Use the way you like to copy the installer to the target host.
Set the installer as executable
In the terminal, run “chmod 0755 deviceonagent-Ubuntu_20.04-x86_64-2.x.x.0.run” so that the installer as an executable file under Ubuntu Linux.

DeviceOn Agent Installation
Running the installer
Change your working directory to where the installer is and run “./deviceonagent-Ubuntu_20.04-x86_64-2.x.x.0.run”. You may need to run “sudo ./deviceonagent-Ubuntu_20.04-x86_64-2.x.x.0.run” to acquire higher privileges if you were logged in as a normal user.

Start DeviceOn Agent and Connect to DeviceOn
Change your directory to /usr/local/AgentService and run sudo ./setup.sh to answer connection information, such as credential URL, IoT Key, Device Name and etc.

Listen port for Web Service: Please specify your preferred port number to access the DeviceOn Agent Portal. The port number must be within the allowable range and not conflict with any other services on your network.
Listen port for WebSocket: Specify a designated port for internal WebSocket communication.
Enter Credential URL and IoT Key that information could retrieve from the DeviceOn portal.

Assign device to User Account: You can bind the target device into a “Default” group in your account on the portal automatically.
Enable TLS: Turn ON/OFF the TLS/SSL mode.
Input Device Name: Give your device name and show it on the portal.
Input AMT ID and password: If your device support Intel AMT, please enter AMT ID and Password to enable these functions.
Input DASH ID and password: If your device support AMD DASH, please enter DASH ID and Password to enable these functions.
Select KVM Mode [0: default, 1: Custom VNC, 2: disable]: User can use our default VNC to support the Remote Desktop function by entering 0 and give a listen port if you don’t want to use the default port. Second, select Custom Mode, if they already have a VNC server by entering 1 and provide the listen port and password. To disable the KVM function by entering 2.
Open DeviceOn Agent Portal
Upon completing the installation steps, it is required to sign in to the DeviceOn Agent Portal and update the default password to activate the DeviceOn Agent.
(The URL of DeviceOn Agent Portal listed during installation process.)


When you run into this step the question shows like above, device is connected and under your account. To confirm the connection status via agent_status: 0: Disconnect, 1: Connected, 2: Connecting.
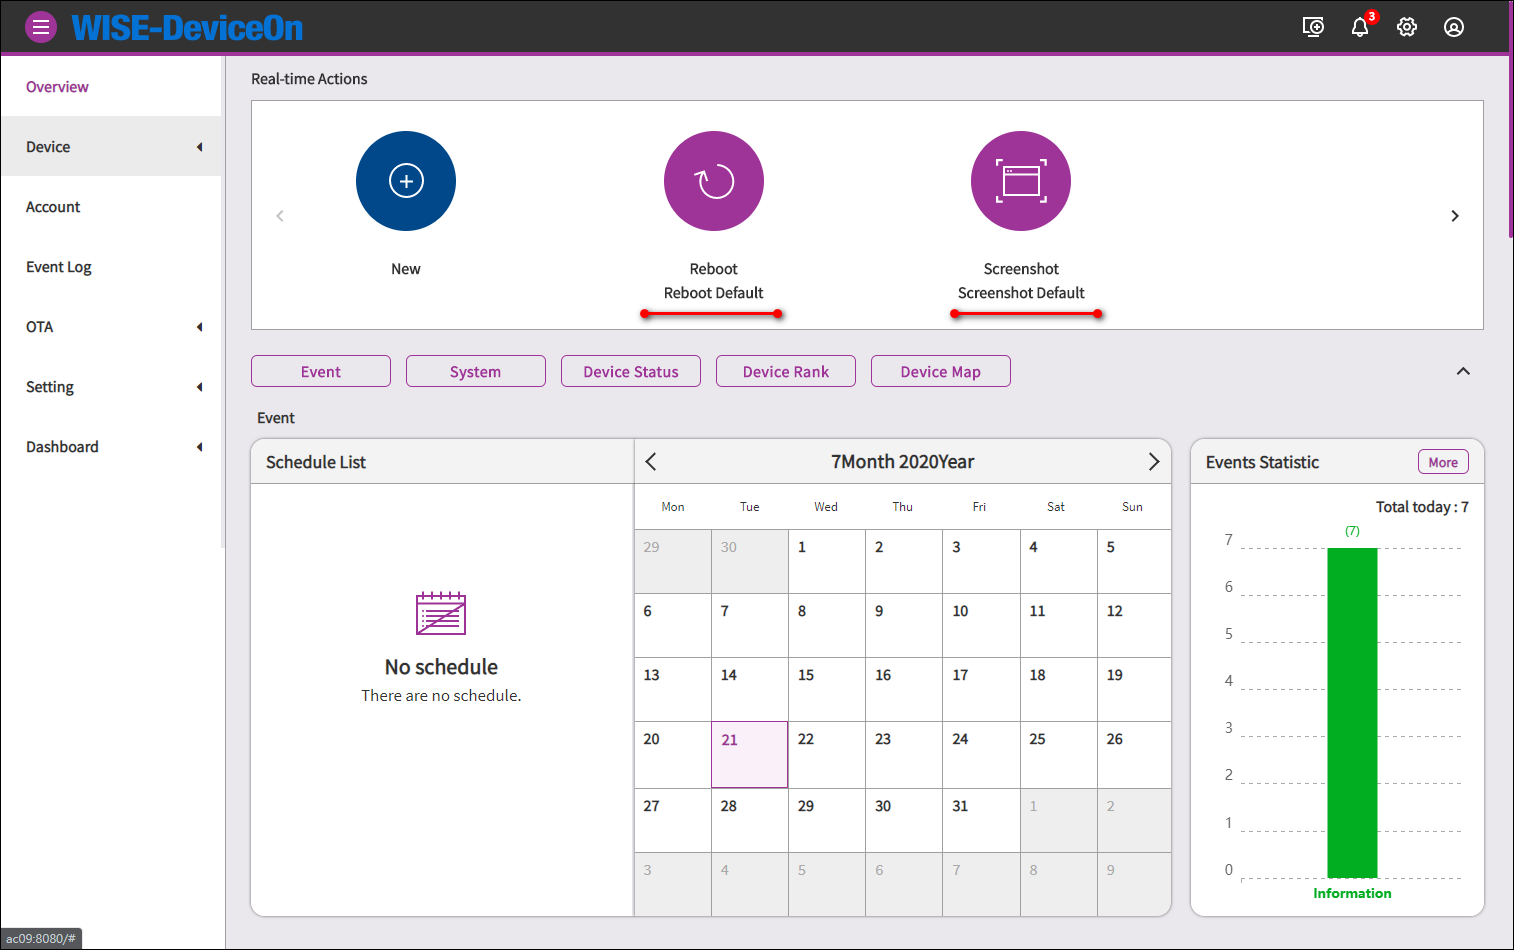
Start Device Management
By default, two “Real-time Actions” are created for a group, one is “Screenshot” and the other one is “Reboot”. The overview page further shows the online status of registered.
Last updated