Windows
Steps to Installation
Step 1: Install the DeviceOn
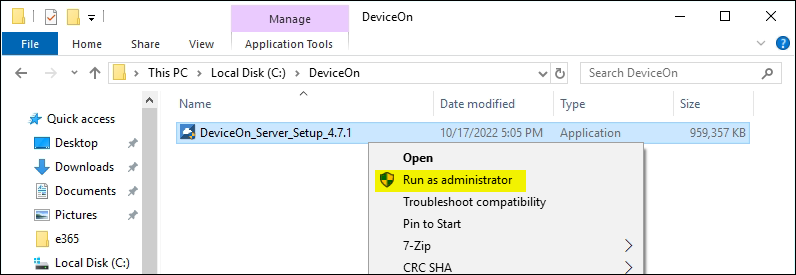
Copy the installation file (DeviceOn_Server_Setup_4.7.x.exe) to your target system and run it as administrator.
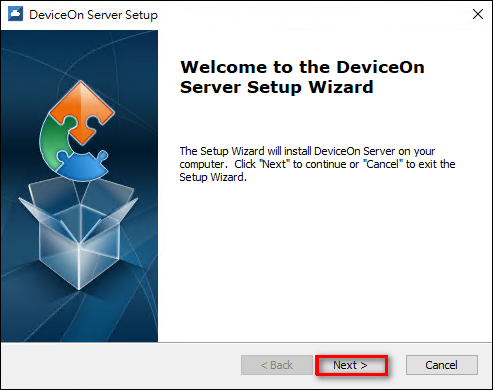
Click “Next” to start the installation process.
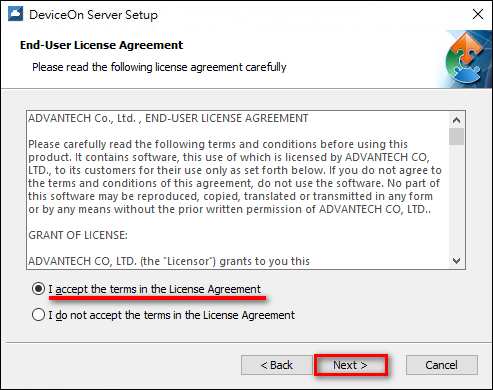
Select “I Accept the terms in the License Agreement” and click “Next”.
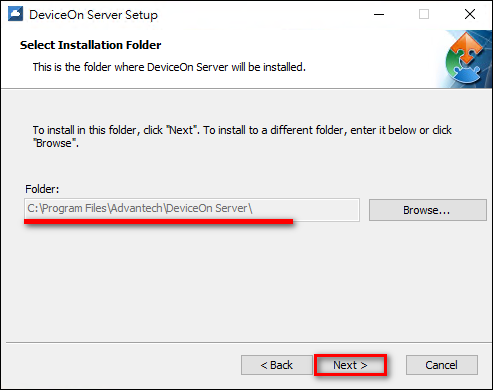
Select the “Installation Folder” for DeviceOn Server and click “Next”
Enter “Public IP” or “Domain Name” for this physical/virtual machine and click “Next”. This information is required for “Edge Device” connectivity, please make sure your device is reachable under this IP or Domain Name.
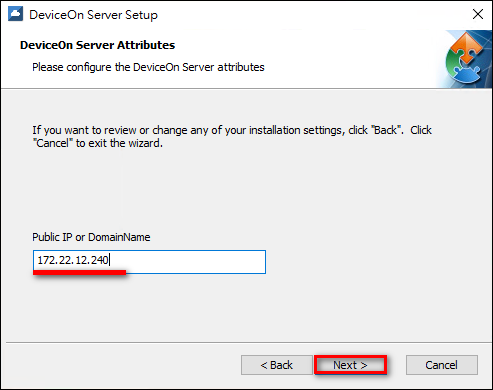
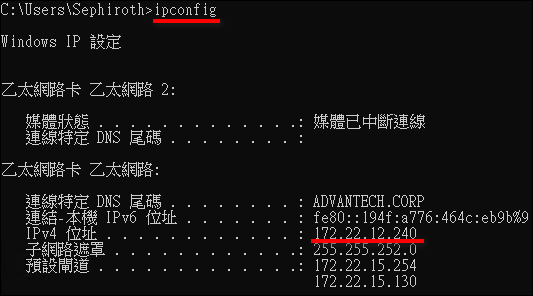
You can start a Windows command prompt and type “ipconfig” to retrieve your IP address(es) on this physical/virtual machine.
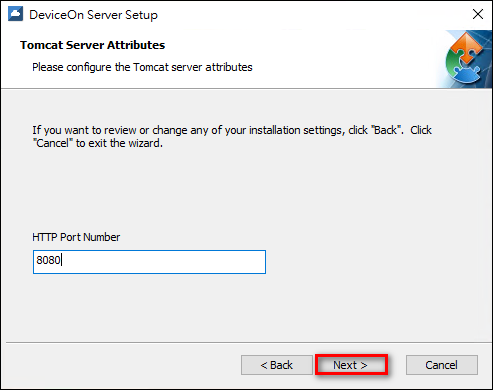
You will need to configure the HTTP port number that is used for web browser-based access the DeviceOn management portal. The default port is 8080, but you can select any other port as long as it does not conflict with any other application or service. Click “Next”.
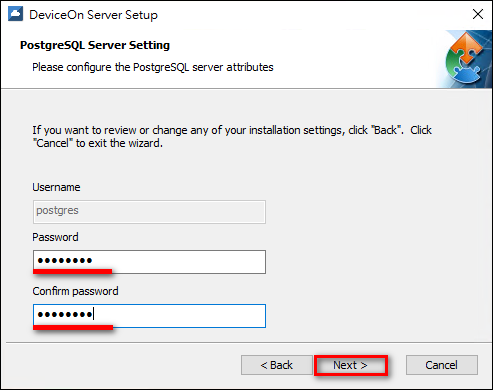
Configure the password of the relational database (PostgreSQL) that DeviceOn uses to manage account, device, permission, and relation data. The default account name is “postgres” and the password should follow below guideline.
Strong Password Rules:
Minimum eight characters, at least one number, one lowercase letter, one uppercase letter, and one special character (Blank character, Backslash(\), Double quotes(") are prohibited)
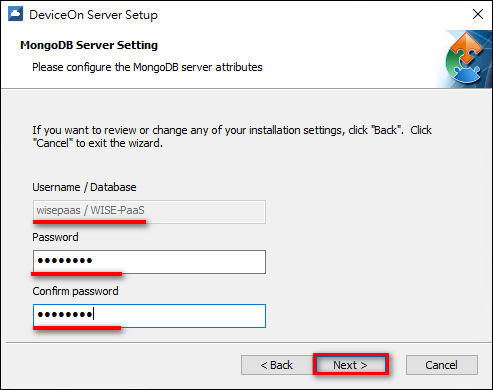
Configure the password of the NoSQL database (MongoDB) that stores device sensor data. The default account and database is “wisepaas/WISE-PaaS”. This password should also follow strong password rules as outlined above.
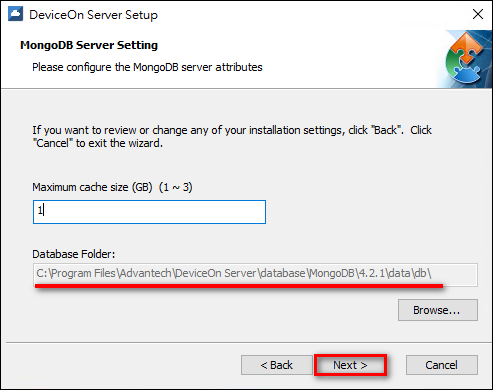
Select the database installation path and cache size of MongoDB and click “Next”. A larger cache size will result in better performance. For more information on this parameter, please referend to the official documentation
Enable capped collections for data recycling and set the size for each collections. Capped collections work in a way similar to circular buffers: once collection files its allocated spce, it make room for new documents by overwriting the oldest documents in the collection.

The characteristic of capped cannot be disabled, if you enable the collection at first.
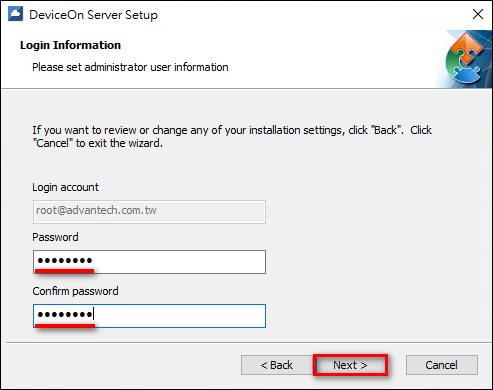
Configure the password of the root account (dummy name “root@advantech.com.tw”) and click “Next”. This root account has the highest permission level and is used to log in to the DeviceOn web service and create other user accounts.
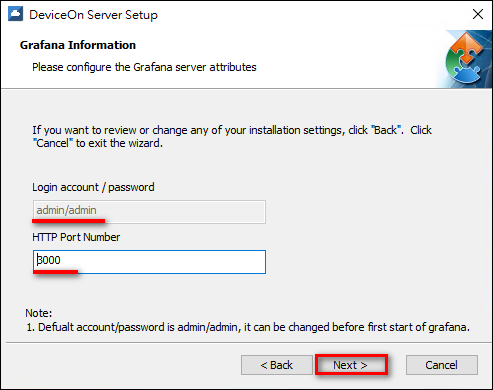
Set up the HTTP service port for Grafana dashboard. The default user name and password is admin/admin. You will be able to modify this at the first login.
Set up FTP service port for application (App Store), device log storage.

DeviceOn license is tied to network interface. The above lists all choose-able network cards information. To install DeviceOn, you have to determine which network card to be tied to. Choosing a connected and physical interface over a virtual one is highly recommended to prevent potential issue that DeviceOn may encounter in the future.

For devices with a TPM chip, TPM data encryption can be enabled to restrict DeviceOn Server execution solely to the same hardware, thus ensuring data security.

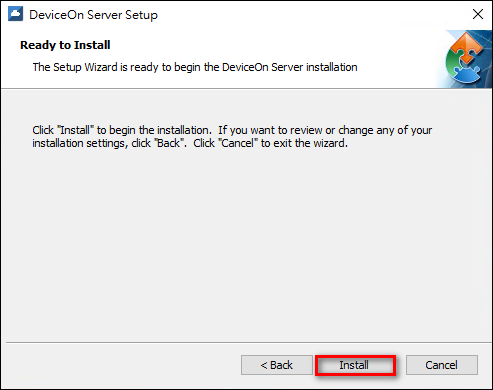
Click “Install” to begin the installation.
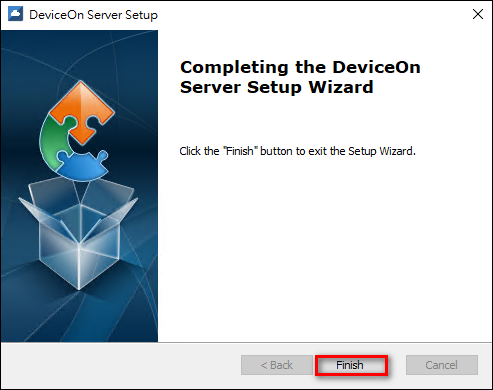
Click the “Finish” to exit the program.
Step 2: Launch DeviceOn Web Service
Two shortcuts will be generated on the desktop - one is for the DeviceOn web portal and the other one is for the Grafana dashboard.
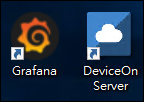
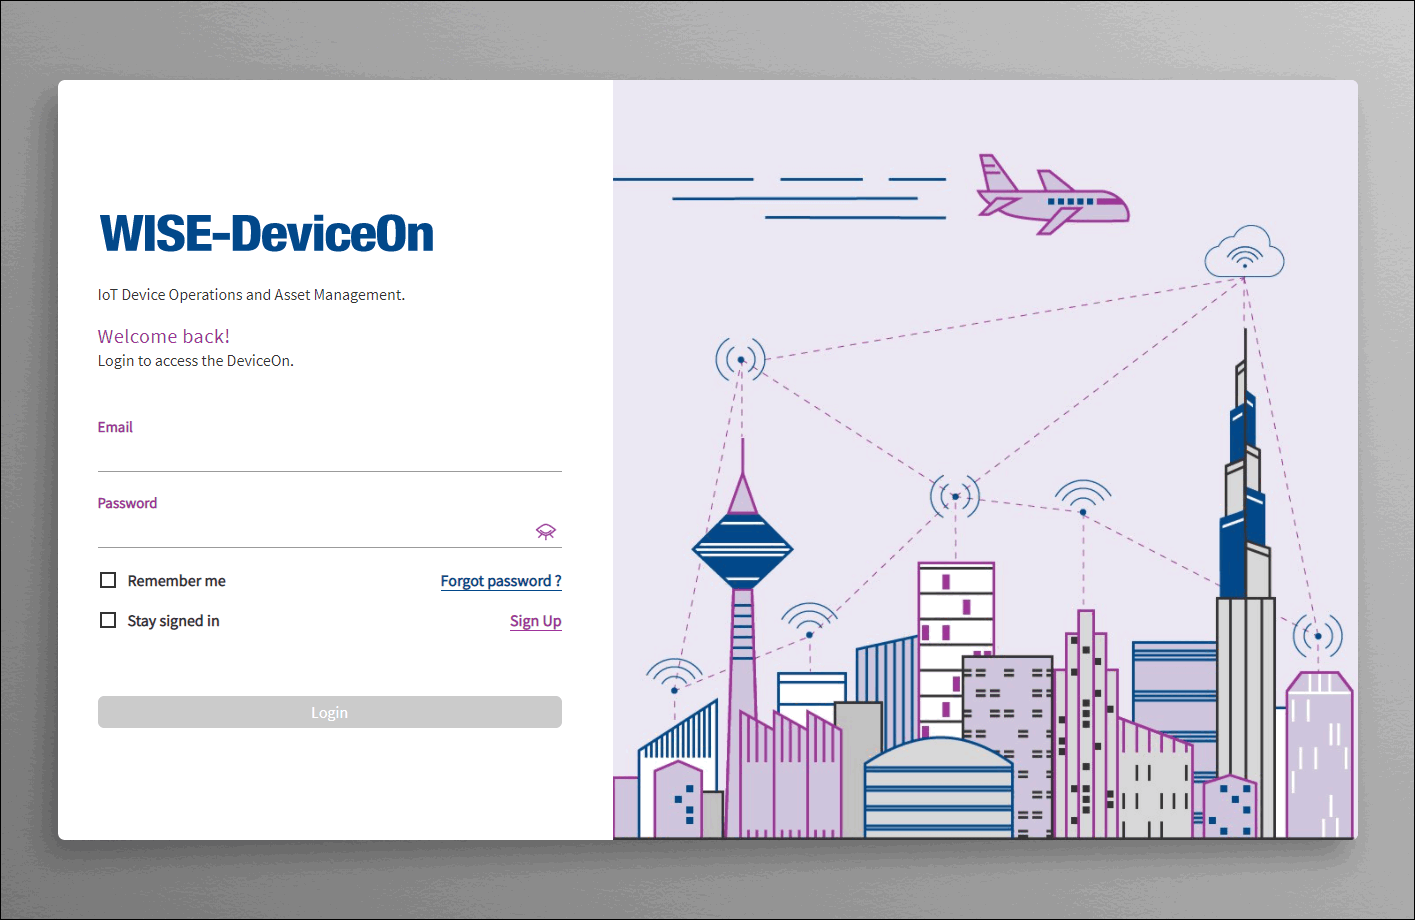
Click the “DeviceOn Server” shortcut in order to launch a browser and to start device operation and management. It is recommended to use Chrome for the best user experience.
Activate License
Step 1: Accept the EULA
Please read over and consent to the license agreements found below.

Step 2: Login to DeviceOn and Apply License
Sign into DeviceOn with the account credentials you set up previously.

Upon your first login, a notice will open asking you to start a free trial or obtain a paid license through product activation. Activating a license is a prerequisite to handle your IoT devices in the system.

There are two license activation options: directly purchase from the WISE-Marketplace (method 1) or apply for a free trial (90-Day) via the Request Form (method 2). Both require the License Request Code, which contains device information details like the MAC address. Please copy or download this code to use for either activation method.

Method 1:
If you already have a WISE-Marketplace account created by Sales, go directly there to buy a DeviceOn license.

After purchasing, in the upper right go to the My Licenses page. Locate the inactive license, paste in your license request code to activate it, and download the license file.
Method 2:
Use the request form to input your personal information. Be sure to correctly fill out both your email and the copied License Request Code. Once you've verified the details are all accurate, submit the form. The trial license will be sent to the email you provide as soon as it is prepared.

When the audit process is done, expect an email from us containing the attached license file.

Step 3: Import License File
Locate the license attached in the email and activate it with the "Activate" button.

Last updated